
SAVE SAVED 1
Prep time: 5 minutes | Cook time: 25 minutes | Cost estimate: $3–5 | Serves: 4
Okay, y’all, let’s talk grits. I know, I know, for some of you, it’s a staple, a love-it-or-leave-it kinda thing. But trust me on this one. My hubby, being a true Southern gentleman, is *obsessed* with grits. And after years of perfecting this recipe, even I’m a convert. This isn’t just any grits recipe; it’s the creamiest, dreamiest bowl of comfort you can whip up in under 30 minutes. Perfect for a cozy breakfast (or, let’s be honest, breakfast for dinner when the kids are being extra). It’s so easy, the hardest part is resisting the urge to lick the pot clean. Let’s get cooking!

Seriously, these grits are a game-changer. If you’re not a grits person now, you might just be converted! Here’s why:
Here’s what you’ll need to create the magic:

Ready to get started? Here’s how to make the best grits you’ve ever tasted:
Bring the water and salt to a rolling boil in a medium pot or saucepan. This is key to getting the right texture. Don’t skip the salt – it really brings out the flavor of the corn!
Slowly whisk in the grits. This is the *most important* step to avoid lumps. Pour the grits in a slow, steady stream while whisking like your life depends on it! Seriously, whisk constantly until they’re all incorporated.
Note: Clumps are the enemy! If you add the grits too quickly, they’ll stick together and create a lumpy mess. Trust me, I’ve been there.
Reduce the heat to low, cover, and simmer. Now comes the patience part. Let the grits cook, stirring often, for 20 to 30 minutes, or until they’re thick and creamy.
Note: The cooking time will vary depending on the type of grits you use. Stone-ground grits may take longer than regular grits. Just keep stirring and checking until they reach your desired consistency.
Check for tenderness. The grits should be tender but still have a slight bite. If they’re too thick, add a little more water until they reach the perfect creamy texture.
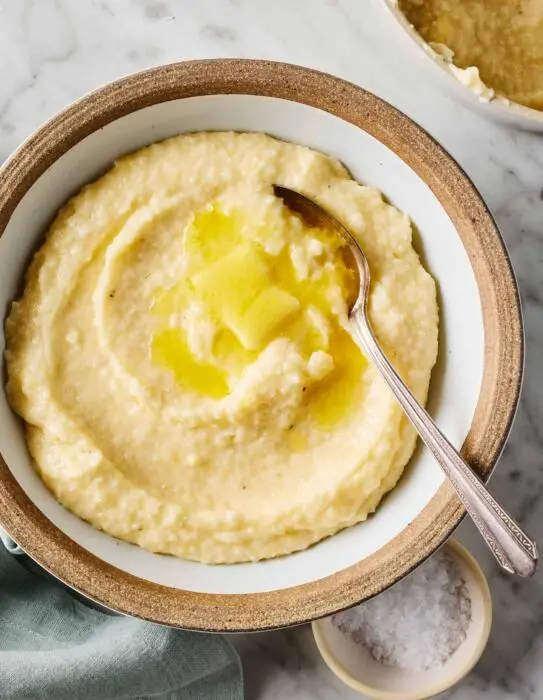
Stir in the butter and cream. Remove the pot from the heat and stir in the butter until it’s melted and incorporated. Then, add the heavy cream (if using) and stir until everything is smooth and dreamy.
Season to taste and serve immediately. Add a little more salt if needed, and get ready to enjoy the most delicious bowl of grits you’ve ever had!

Want to take your grits to the next level? Here are a few of my favorite tips and tricks:
Need to tweak the recipe to fit your dietary needs? No problem!

While you *can* use quick-cooking grits, I highly recommend using regular or stone-ground grits for the best flavor and texture. Quick-cooking grits tend to be less flavorful and can become mushy.
The key to lump-free grits is to add the grits slowly while whisking constantly. Seriously, don’t stop whisking! Also, make sure your water is boiling before you add the grits.
Craving more easy and delicious comfort food? You might also love these creamy chicken pot pie soup, perfect for a chilly evening. Or maybe you need a new brunch staple, in that case check out these fluffy dream pancakes, they are the ultimate weekend treat!


